

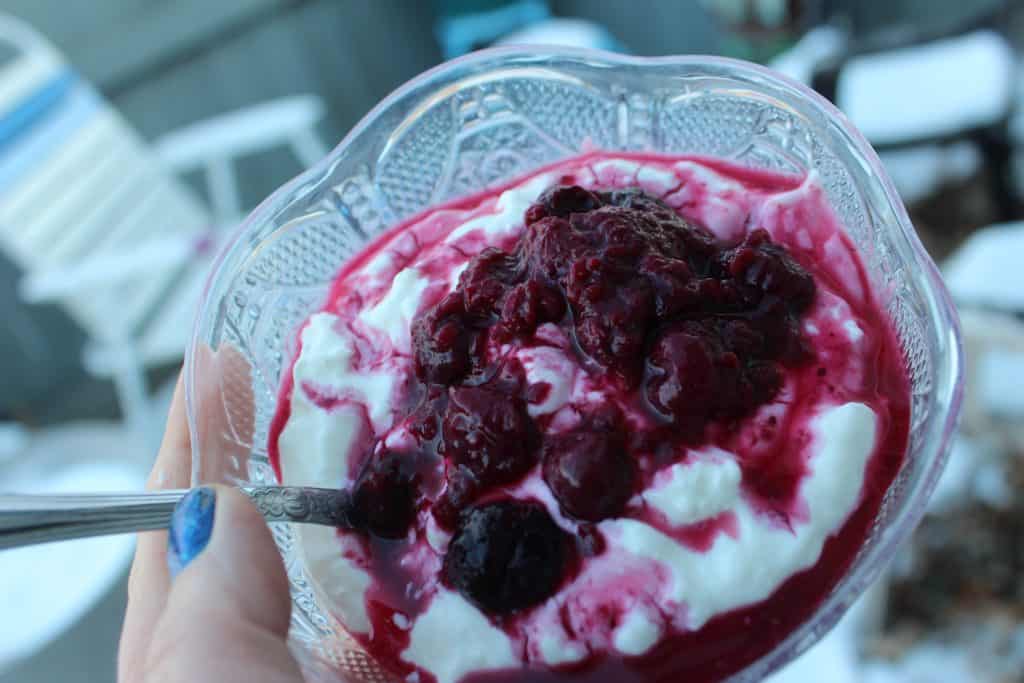
When I started looking into making some easy homemade instant pot yogurt–it’s gotta be easy and pretty foolproof to withstand my personal rendition of “cooking”–I was expecting to see a variety of recommendations.
I wasn’t expecting the crazy, overwhelming amount of advice, tips, secrets, and must-do mandates! No two seemed to agree. It seemed I’d stumbled onto the homemade yogurt religious order, with many, many branches. It was so intimidating!
I wasn’t sure at first if it was worth the trouble to figure out.
Well, let me cut to the chase right here: way worth the trouble!

I like yogurt from the store so-so. I seldom buy it. But I heard people raving about their homemade. So I thought if I could make some easy homemade Instant Pot yogurt, maybe I’d like it better than store bought. But I wasn’t even remotely prepared for how much I was going to fall in LOVE with this easy homemade Instant Pot yogurt. Seriously. I am sucking this stuff down like there’s no tomorrow!
I’m not sure why it’s so much better. It’s fresher? Creamier? Thicker? Maybe it’s because the milk is fresh and I’m not using any additives? I have no clue but I don’t much care. Even if you don’t like yogurt, you very well may like this stuff. And if you do like yogurt? We’re totally on the road to happy town.

My cat, Smokey, is loving it, too! She stalks me every time she sees me with a bowl, waiting for her turn. Because I know exactly what’s in it–no additives and no xylitol (toxic for pets)–I can let indulge her just a little. And it makes her so happy!
Side note: Many cats are lactose intolerant, but can still enjoy a spoon or two of yogurt. If your kitty is extra sensitive to dairy, I wouldn’t risk it. But for most cats, a little is okay. In the incubation process of making yogurt, the bacteria eats up the lactose in the milk to set. And if you strain off whey to make greek yogurt, there’s even fewer milk sugars. So this easy Instant Pot Homemade Yogurt is easier to digest, both for you and your cat!
I’m running a few batches of this a week now with no signs of slowing. Mr. Zen, head dishwasher here, may be slightly less enthralled with this whole obsession than I am, though. He doesn’t call this recipe Easy Homemade Instant Pot Yogurt. He calls it, “Making a mess.” Oh well! Good thing he loves me. 😉
But before we get busy, here’s a list of what you’ll need.
What You Actually NEED to Make Easy Homemade Instant Pot Yogurt (or Almost-As-Easy Greek Yogurt)
- An Instant Pot
- A Digital Thermometer
- Strainer of some kind, for thicker or Greek Yogurt. Options you may already have on hand: fine mesh strainers, nut milk bag, or paper coffee filters to line ordinary colanders.
- Plain, unsweetened yogurt for starter (must list ingredients as milk and live cultures). You could get yogurt starter, but that 99¢ container of plain yogurt in the grocery store will get you up and running. After the first batch, use a bit of what you made or the whey drained off from your homemade yogurt to start the next batch.
What You DO NOT NEED to Make Easy Homemade Instant Pot Yogurt
I love grabbing Instant Pot accessories as much as the next gal. Okay, maybe more. But I don’t want folks to pass this deliciousness by, thinking you must have all kinds of Instant Pot doodads to turn out some good yogurt. Now, if you want them, more power to you! But don’t avoid trying this because you don’t have all the insta-bling, okay?
Specifically, you don’t need fancy little “yogurt making cups“–what, are they feeding birds yogurt? Toddlers? A batch that size wouldn’t last me the afternoon!
You don’t need any cute little mason jars either (although if you tell your spouse you do need them, I won’t open my big mouth). I’d recommend making the yogurt directly in the pot. It’s way easier and you can make so much more in each batch, with much less fuss.
You also don’t require a fancy yogurt strainer for greek yogurt, although I’m sure there’s nothing wrong with those if you want one. But since I’m making this stuff by the gallon here, I didn’t want to buy multiple, specialty-use items to compete for storage space in my modestly-sized kitchen.
Yogurt Heads: What You Might “Need” if You Fall in Love with Easy Homemade Instant Pot Yogurt
After you’ve made this a few times and decided it’s going to be a regular thing, you may want to beef up your tool chest. Here’s what I am deeming “necessary” for myself (using the term very loosely):

- A spare Instant Pot liner –
On my list as we speak. Got one! Each batch of Easy Homemade Instant Pot Yogurt will tie up your Instant Pot stainless steel inner liner for a minimum of 10 hours or so, and you may want to be using that pot for something else! Make sure you get the right size for your pot. - Glass Instant Pot lid – This is more a nicety than a need. But it’s very nice to be able to see what’s going on in there!
- A convenient strainer – Optional, naturally! But I love thick yogurt. I really like this strainer, which catches the whey in the bowl below as it drains. I’d like to have a few more than the one I bought, so a whole batch of yogurt from my 8-quart Instant Pot could be worked at the same time. Eventually…
- Heirloom Starter – I’ve been doing well so far using my whey as starter for new batches, but I’ve read this doesn’t always give a reliable set after multiple uses (or “generations” as they call it). Heirloom starter may be a good investment if you’ll be making this a lot. I’ve got some on order now.
- Commercial Size Coffee Filters – If (and only if) you’re going to make yogurt a lot, consider grabbing some 1.5 gallon sized coffee filters. Line whatever strainer you have on hand with one or two for a perfect strain; the yogurt peels right out when done. And just so you’re not as shocked as I was: one order of these filters is a darned near lifetime supply.

Random Tips for Foolproof Easy Instant Pot Yogurt Recipe Results
- There are many ways to make yogurt! Some may be “righter” than my way. I tested many times to get the absolute minimum effort required for consistently great results. However, fails happen so you may want to try using less milk your first few times until you feel like you have it down.
- Fresher milk makes fresher tasting yogurt.
- The more fat in the milk, the thicker and creamier the yogurt. You can use anything from skim to half and half, but I have been using plain ol’ whole milk with great results.
- You’ll probably want regular (pasteurized) milk, not organic. Often, organic milk is “ultra pasteurized” with an additional heating process which can put a kink in the works. Meaning you could end up with yogurt-soup rather than yogurt-yogurt.
- Greek yogurt is lower carb, since it’s just regular yogurt, strained of more whey (milk sugars), making it thicker.
- The longer you incubate, the tarter (and lower carb) the final yogurt. If you’re sensitive to dairy, incubate up to 24 hours and let the happy bacteria eat that dairy right up for you. Strain off as much as possible of the remaining whey and your yogurt will be beautifully thick and virtually dairy free.
- The fresher the starter, the better the yogurt sets. You can use a little bit of yogurt or whey for starter. It keeps in the fridge for up to a week, or longer if you freeze it. But if your temperatures have been on target but your yogurt isn’t setting up to your satisfaction, try using new starter.
- It’s normal to have a little pooling of liquid whey in any yogurt after being in the fridge. Spoon it off or mix it in. It doesn’t mean your yogurt is going bad. It’s the same as you see in store-bought yogurt or sour cream.
- Some people sterilize their pot and/or containers beforehand. I don’t, because I’m not going to be sterilizing my digital thermometer, glass pot lid, spatula for stirring, etc. If you wanna sterilize, have at!
- You can empty a few probiotic capsules in your starter and grow those helpful happy little bateria into your yogurt. If you save whey off your batch for starter and do this a few times, you’re basically running your own medicinal strain of yogurt. How cool is that?
Are you ready to get rocking?
I’ve been making up little batches of sugar-free fruit compote to eat with the yogurt and it’s AMAZING! (And I finally posted the recipe.)
What do you think? Have you tried making yogurt in your pressure cooker? Tell me about your easy homemade instant pot yogurt adventures!


